The eCommerce business in 2022 is more competitive than ever, with thousands of sites offering a vast diversity of products. In this context, the return rate is one of the most relevant indicators of your business success (besides conversion rate). And you would be surprised that a whopping 11% of people say that they have returned products because of inaccuracies in the product images. In addition, 58% of consumers say they won’t make future purchases from a brand after experiencing color inconsistencies. So one mistake can cost your customer’s trust and negatively impact your future sales - ouch!
That’s why having high-quality color matching in your product images is of utmost importance. So today, we want to offer you some helpful tips on color matching a product image to get fantastic color accuracy.
What is color correction?
Color correction or matching is balancing ranges of color to create neutral highlights and tone down any color problems. The truth is that capturing an image with colors as striking as when you see them with the naked eye is rarely done directly from the camera. The actual magic happens during the product image retouching.
In the retouching process, color is composed of saturation, temperature, hue, and the perfect balance between them. Therefore, working with these elements will get the right tonal balance in your product image.

During the photo shoot
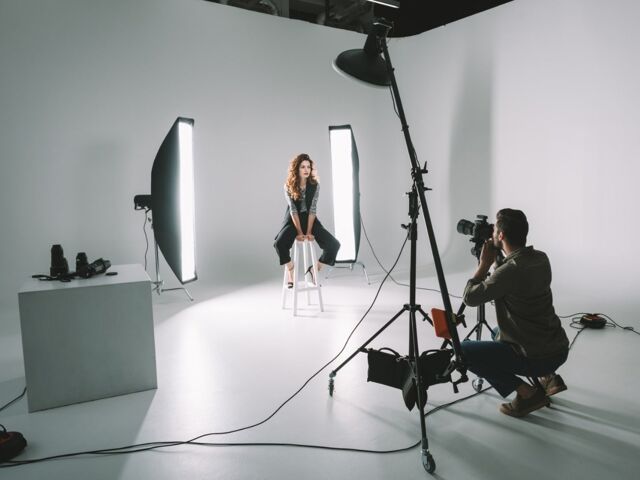
To begin with, having an excellent RAW image will ensure the perfect quality of your product photography. So, for color matching purposes, follow an important rule during the shooting session: all lighting sources must be of the same color temperature. If not, different angles of your product will get different color casts.
Light impacts how colors are perceived so that the same color can look different in different lighting environments. So for color matching, always use the same types of lights to ensure consistency.

Best color-matching image editing techniques
Use the power of automation.
Nowadays, most image editing tools have mastered automating the retouching process. So if your image looks too dark or the colors need some improvement, you can use modules that automatically adjust the exposure and colors of your product photos.

White balance correction
When the wrong balance, whites in your image can appear yellow or blue, depending on the temperature of your light. Adjusting the white balance will change the colors for a more accurate representation of what the eye perceives as pure white. This is the first step toward a more accurate picture of your object’s authentic colors.
Adjust saturation
Even high-end cameras might not capture the real colors of particular objects. For example, red can be challenging to capture - and it goes the same with other colors. Adjusting the saturation during the image retouching process will help you to avoid having washed-out colors in your product photography.
Saturation allows you to adjust the intensity of all colors or the intensity of a specific color. It’s usually scaled from 0, and your images will have more grays on the minus scale, and on the other side of the scale, you will get super intense bright colors.

Remember not to abuse saturation, as this will make your images look unrealistic.
User filters and presets
To make your image retouching days more manageable, you can always streamline your process using filters and presets. Experiment with various apps until you find a filter that works for you, and then apply it to the rest of your product photos.
If you are working with Lightroom, you can create your own presets and download or buy them from others. Hundreds of photographers and image editing professionals sell Lightroom presets for a small price.
Recoloring
Recoloring will save you a lot of time and money if you have one product that is available in more than one color option. Recoloring is much like color matching, but instead of adjusting the colors, you change them to a different color option of the same product.

Tools for color correction of your product images
Snapseed.
For color correction, some tools will help. If you want to do your product retouching on your smartphone, you should consider SnapSeed. This free app has a “tune image” option that automatically adjusts brightness, contrast, saturation, highlights, shadows, and warmth.
Lightroom is also an excellent tool for beginners looking to do color preservation. Import your images and explore the toolbar. You can adjust temperature, tint, highlights, shadows, blacks, and whites at the top section of the toolbar. Further down, you will find saturation and luminance.

Suppose you want to go to the next level while editing your product images. In that case, Photoshop is your best choice offering the most flexibility for the image retouching process and many helpful tools.


