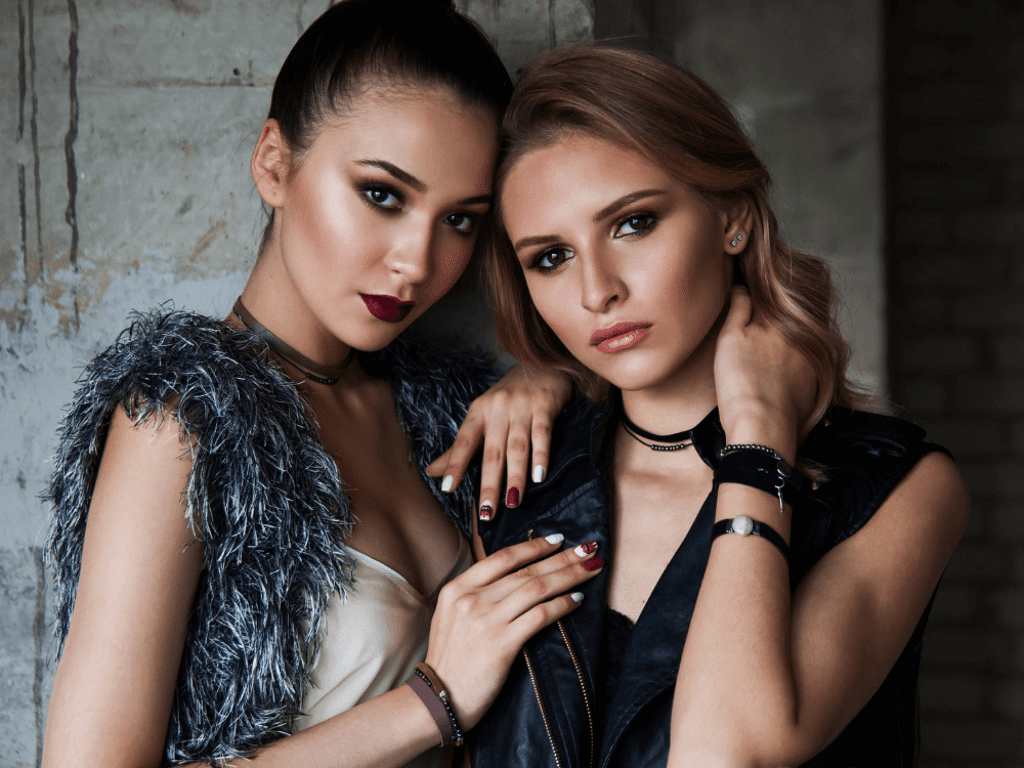
An essential part of what makes a brand is its aesthetic: the tone, the style, the mood, the personality - they are all conveyed through editorial photography. In 2022, any brand’s priority is to communicate its brand's story through impactful imagery, and editorial photo retouching is a big part of that effort.
As you might already know, image editing and photo retouching are as crucial as the photoshoot itself. This is a time for fine-tuning and optimization for a maximum editorial impact. Regardless if you are in the fashion or advertising, or any other industry that requires high-end imagery, post-processing is a necessary effort that needs to go into your planning.
This article will share a checklist for editorial photography and editorial photo retouching that you might find helpful in your next product photography project.
Step 1: Start by making sure your background is flawless
A clean background is a good starting point - even out backdrop tones and eliminates the wrinkles. The background can make or break your result, whether you are shooting in a photo studio against a green screen or on a location. This is why focusing on natural-looking background edits is of utmost importance.
Some helpful tools are: the healing brush (to replace texture and maintain the same tone), dodge, and burn will enable you to give depth to your image by adding lights and shadows in a localized way.

Step 2: Treat skin and hair with the technique of frequency separation
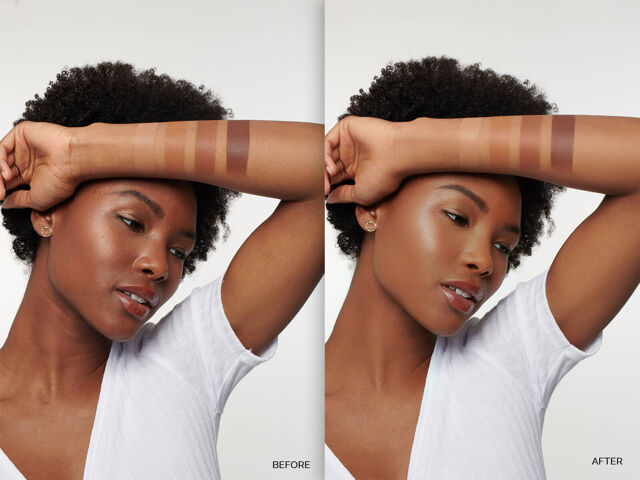
Frequency separation is a great Photoshop tool used by editorial photographers. This technique allows you to add high and low-frequency information onto different layers. High frequency is about the details like hair, texture, and skin blemishes, while low frequency is about shadow, tone, and colors.
Separating the two enables you to proceed with image editing on one layer without affecting the other. For example, you can retouch skin texture without affecting the color or changing the light and shadow without influencing texture.
This is particularly helpful for skin and hair retouching.

Step 3: Correct exposure and contrast with levels
There are many ways to enhance your image, but only a few come in handy every time you will work on image editing - and one of those is levels.
Look at exposure and determine if your photograph is under or overexposed, adjust shadows and highlights and then go straight to levels.
You can correct the tonal range in your image and correct color balance through levels. Use our histogram to get a visual representation of the tonal range of your image.
Step 4: Colour Correction
Color grading means changing or shifting the colors of an image to enhance them and make them look vibrant and attractive. Sometimes it helps photography look cinematic; sometimes, it’s meant to make the image look and feel like a specific historical time or evoke an emotion.
Color grading helps set the mood and tone of your product photography, and color generally has the power to evoke emotions through editorial retouching, making it a powerful tool for all photographers.

Step 5: Sharpening
If you feel like your product photography doesn’t look 100% sharp? That’s normal, and it’s ok because you will always have image editing as your best friend, and you can enhance sharpness in editorial photo retouching. Sharpening is one of the best and most essential things with your editorial photography.
Tools like Unsharp mask and Smart sharpen are handy for adding extra sharpness to your editorial photography. However, don’t forget to create a layer before pointing your image for frequency sharpening.
Step 6: Add noise
Adding noise is a final and essential step in image editing for editorial photography. Noise refers to a visual distortion similar to grain from film photography. Adding noise helps the image look more natural and blend in with the tones. Noise enhances the quality of your photography and makes it look even better in print. On the other hand, too much noise can look like splotches of discoloration and can ruin your image.
Good lighting for product photography can ensure you will not get an unhealthy amount of noise in your image, so use light strategically in your photoshoot.
Final thoughts
When you are done with image editing, try and step away from your editorial photography. Save your image and take a break, then return and recheck it. The photo retouching process can be pretty tiring, and looking at their wish with fresh eyes the next day can help you discover more things that can be enhanced for a wow factor.
If you are overwhelmed by removing background from your product photography or organizing photoshoots for editorial photography, don’t hesitate to contact us. Our specialized team can give you a hand with complete retouching services for the editorial, fashion, and advertising industries.


