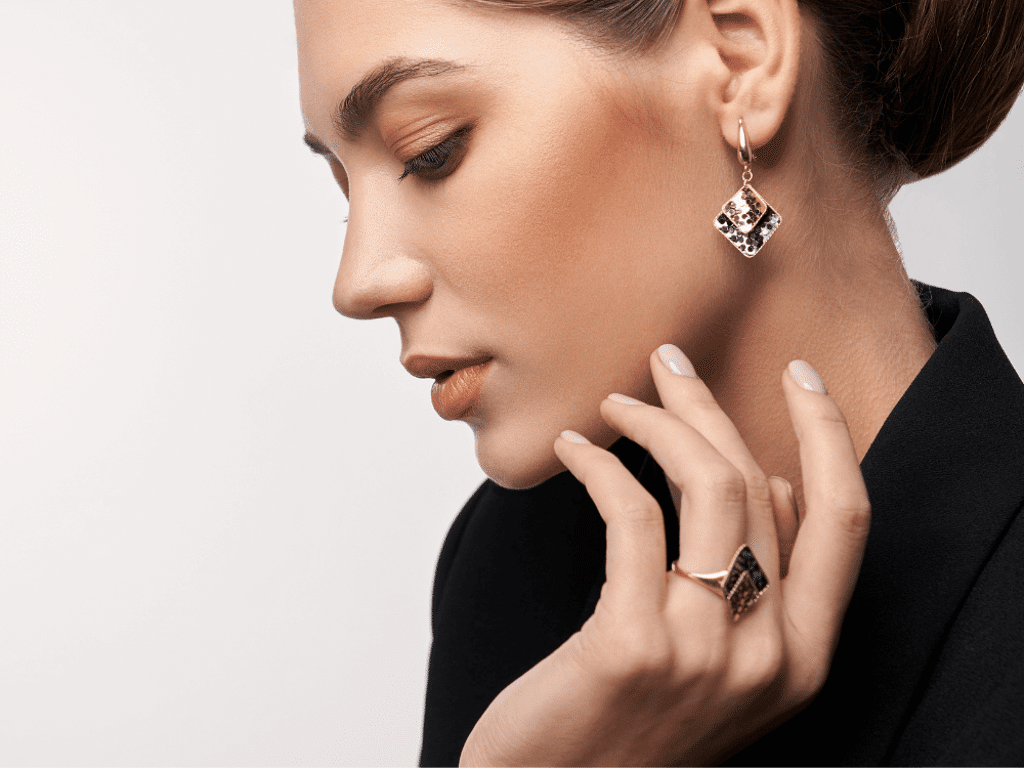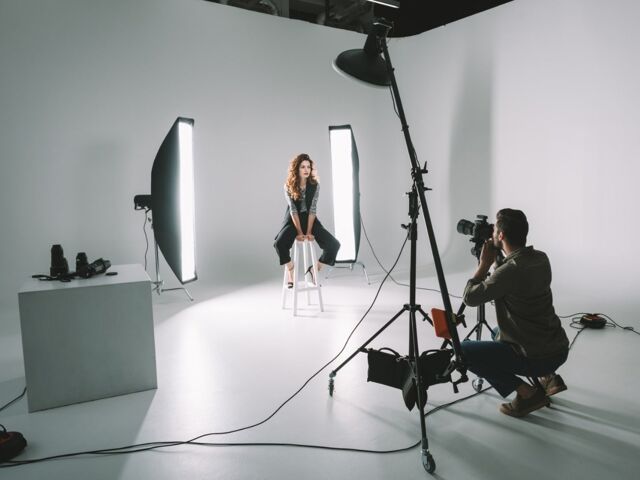
Jewelry photography is a highly specialized field that requires precision, creativity, and technical skill. Whether you're a professional photographer or a beginner who wants to showcase your beautiful jewelry creations online, you'll need to know how to edit your photos to make them shine.
Jewelry photography has been gaining popularity as more and more people become interested in buying and selling unique jewelry pieces online. However, to make your jewelry photos stand out and attract potential buyers, it's essential to have high-quality images that showcase the details and craftsmanship of your pieces. This is where image editing comes in.
And when it comes to image editing, Lightroom is one of the most powerful tools for editing photos. In this article, we'll look at how to use it to edit jewelry photos.
Step 1: Import your photos
The first step of editing jewelry is to import your photos into Lightroom. You can do this by clicking the Import button in the Library module and selecting the folder where your images are stored. Make sure you have the option to make a backup copy of selected photos so you don't lose any data.
Step 2: Crop and straighten
Once you have imported your photos, the next step is to crop and straighten them. This is especially important for jewelry photography, as you want your pieces to be the photo's focus.
If you want to get your angles straight from the camera, use a tripod and get the camera as level as possible. This is a good trick, but it sometimes isn’t enough, so you would still have to go into the Lightroom transform panel and click on Auto. If this doesn’t trick, use the manual Crop tool to crop the image to your desired aspect ratio and straighten any wonky lines.
Use the Crop Overlay tool to crop the image to your desired aspect ratio and straighten any wonky lines.

Step 3: Adjust exposure and white balance
The next step is to adjust your photo's exposure and white balance. Exposure refers to the image's brightness, while white balance refers to the color temperature. Jewelry photos should be well-exposed, but not overexposed, so adjust the exposure slider until you get the desired result. Going after a dark and moody aesthetic, you will want to underexpose your image slightly and boost the contrast in the Basic Panel or Tone Curve panel.
For white balance, try the Auto option first, and if it's not quite right, use the Temperature and Tint sliders to fine-tune the colors.
We recommend setting the white balance in-camera to reduce the time spent in image editing. In addition, this will increase the chances of your colors and whites looking accurate. If you want to adjust the white balance in Lightroom, simply pick the eyedropper tool and select a neutral area of your photo.

Step 4: Adjust shadows and highlights
If you want to take your jewelry photography to the next level, Lightroom's Shadows and Highlights tools are a must-use feature. By selectively adjusting the shadows and highlights, you can bring out the intricate details of your jewelry pieces and make them stand out more.
For even more precise control, you can use the Selective Adjustment Brush to isolate specific areas of the image and adjust them separately. It's essential to be cautious when using these tools, as pushing the shadows and highlights too far can result in an artificial-looking image.
PRO TIP: If you're working with multiple shots of the same jewelry piece, adjust the shadows and highlights the same way across all of them to create a consistent and professional look.

Step 5: Enhance details and sharpness
Jewelry photography is about capturing the details; the next step is enhancing them. Use the Clarity slider to highlight the points in the jewelry and the Sharpening tool to make the image sharper. However, be careful to do it sparingly, as too much clarity and sharpening can make the image look unnatural.
Sharpening is usually one of the last steps in your image editing process. Through sharpening, you can boost the contrast between pixels and the margins of your subject, creating a more sophisticated look.
PRO TIP 1: When editing jewelry photos, it's essential to consider the image's overall composition. Consider using a neutral or solid color background to create a clean and minimalist look. Alternatively, you could use a textured or patterned background to add visual interest to the image.
PRO TIP 2: Add sharpening only to specific areas of your image, as there isn’t any point in sharpening the image background or the props you use. Keep the sharpness the highest when you want the buyer’s attention to land first.
Step 6: Remove blemishes and distractions from the image background
The final step of image editing is to remove any blemishes or distractions in the image background. Next, use the Spot Removal tool to remove any dust, scratches, or other imperfections in the jewelry. This is a helpful tool to help you eliminate any minor flaws in your images and make your product and image background look flawless. To use this, click on the Spot Removal tool and move it to the area of your photo where you want to remove a blemish, then click again. Lightroom will automatically sample pixels from a nearby area and replace the blemish with similar-looking content.
You can also use the Clone Stamp tool to remove any distractions in the background.
Step 7: Remove the image background (optional)
Removing the image background from a product photo is optional, but creating a clean and professional look for your e-commerce website or catalog can be a good idea. Lightroom offers a quick and easy way to perform background removal. First, select the image you wish to edit and navigate to Develop mode. Next, select the Adjustment Brush tool and ensure the Auto Mask option is turned on.
Carefully paint over the area you wish to keep in the image, and Lightroom will automatically detect the edges and separate it from the background. Once you have painted over the entire product, press the "Delete" key to remove the background. A different approach is using the Erase tool to remove any remaining unwanted parts of the background manually. With some practice, background removal from product photos using Lightroom can be quick and straightforward.
Step 7: Experiment with presets and creative effects
For those who are short on time or simply want to try out different looks for their jewelry photos, Lightroom presets and creative effects are great options. With just one click, presets can adjust multiple settings, such as color temperature and exposure levels, saving you precious time editing jewelry - especially large batches of photos.
You can also experiment with creative effects like vignettes and split toning to add more visual interest to your jewelry images. These effects can be applied while maintaining a professional and well-balanced look. If you're unsure about your Lightroom skills or want to try something new, presets and creative effects are worth exploring.

Step 8: Save and export your images.
When you have finished image editing, it is time to save and export it. All the adjustments made in Lightroom are recorded and can be undone by navigating the history panel. In this case, a virtual copy was created to preserve the original file in the Lightroom filmstrip. Select the Photo tab to make a virtual copy and click "Create Virtual Copy." A duplicate of the image will appear in the filmstrip.
In conclusion,
In conclusion, editing jewelry photos in Lightroom requires attention to detail and a good understanding of the software. By following the steps above, you'll be able to enhance your photos and showcase your jewelry in the best possible way. Remember to focus on the jewelry, adjust the exposure and white balance, enhance the details, and remove distractions. With a bit of practice, you'll be able to create stunning jewelry photos that will catch the eye of your audience.
If you're ready to take your jewelry photography to the next level, don't hesitate to contact us for professional image editing services. Our experienced editors will help you create stunning images to elevate your brand and drive sales. Contact us today to learn more.


