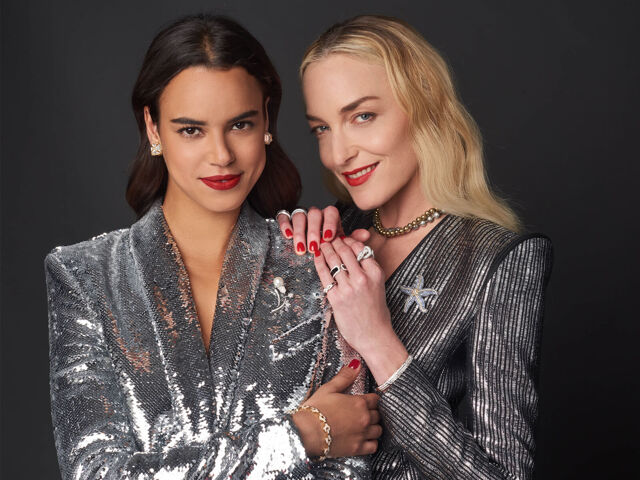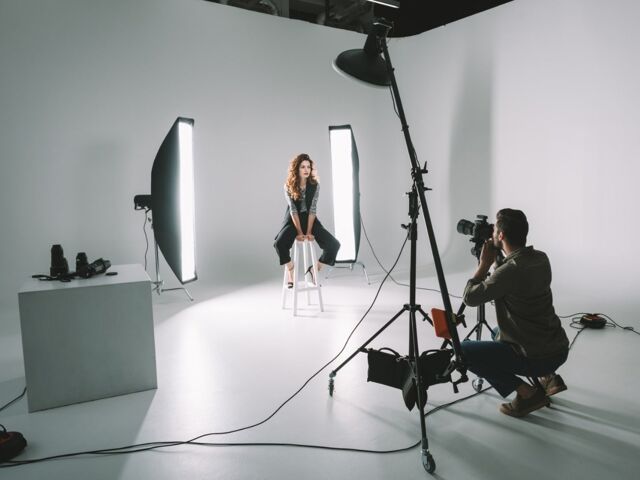
There’s nothing better than a model with natural beauty and a photographer who knows how to take amazing portrait photos. But there’s always room for the better, and this is where Photoshop comes in.
In this article, we want to show you some ideas on how to improve your portraits by giving your subject a glowing photoshop face while maintaining the model's unique features.
We’re be looking at some skin retouching and wrinkles removing techniques that will make you realize that basic skin retouching in Photoshop is not that difficult after all.
How to remove skin redness in Photoshop
Blemish removal is usually the first part of the retouching service. You’ll want to do this before anything else to avoid affecting other details in your image.
Start by duplicating your background layer and renaming it “redness removal”. Then, in the dropdown menu at the top of the application, choose Select - Color Range.
Select the eyedropper tool on the right of the dialog box and click on a red area on the face. Next, choose the eyedropper tool with the + symbol to add a new selection and then click on other parts of the face with unwanted redness.
Then, go to Select - Modify - Feather, and set your feather to a lower number, for example, 3-5 pixels. Next, hit Image - Adjust - Hue/Saturation and move the slider to the right until the redness is reduced.
Remember that you want to remove blemishes, not features. The goal is to make the model look like their best, not like a different person.

How To Smooth Skin In Photoshop
Create a layer duplicate In named "Spot Healing" and then click OK. Next, select the spot healing brush from the toolbar and make sure the “Type” option in the options bar is set to “Content-Aware.”
Then click on the skin blemish to remove it. This tool is excellent as a wrinkle remover, soft line removing, or pimple removing. Photoshop helps you “heal” the blemish by replacing the texture with a clear skin texture from the area.
PRO TIP: It’s a good idea to have the brush a bit larger than the blemish.
It’s not okay to remove permanent features such as moles, scars, dimples - these are not blemishes; they are part of who that person is.

Add blur and texture
Merge the previous correction layers “redness removal” and “spot healing” and duplicate the final layer: one named “blur” and the other one called “texture.”
First, select the blur layer and filter - blur - gaussian blur in the dropdown menu. Then, adjust the blur just enough to hide pores.
Then choose image - apply image.
In the dialog box, set your layer to blur, channel to RGB, blending to add, and opacity to 100%. Now the texture layer will become gray.
To complete this, adjust the blend mode of the texture layer to “Linear right.”

To sum up
There are many ways to do photo manipulation to make skin look better. In this article, we showed how to remove redness, smooth skin, add blur and texture. In image editing and retouching, getting that perfect skin is crucial. But always remember that your result should look natural, glowing, and soft, so you should be careful not to get carried away.
If you want to get it 100% right, our team of experts in image editing is here to help. We can help you get top-notch portrait retouching services - from removing shine, sweat, blemishes, and wrinkles, to teeth whitening and more.
Learn more about other photo manipulation services that we provide, and get in touch if we can help you out.


