Five tips on photographing shoes
- article updated in 2023
Photographing shoes is not only a way to showcase their unique design and style but also an opportunity to capture their essence and appeal to potential customers. Whether you’re a shoe enthusiast, a budding photographer, or a business owner looking to enhance your shoe product images, mastering the art of shoe photography is essential.
This article will explore five valuable tips to help you create captivating shoe photographs that stand out and make a lasting impression.
Bad photos won’t cut, and your shoes might never be in the check-out basket if you’re not careful.
Remember that footwear photography is a creative job, and the process can get tricky. Why? You must constantly flex your brain muscle to find interesting pictures and compositions to put the product in the best possible light.
Now, let’s cut to the chase and tell you some important things to remember when photographing shoes.
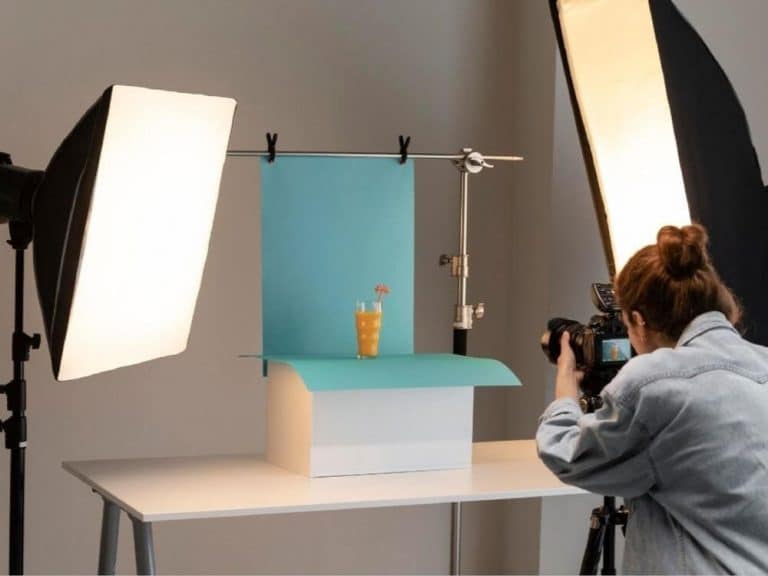
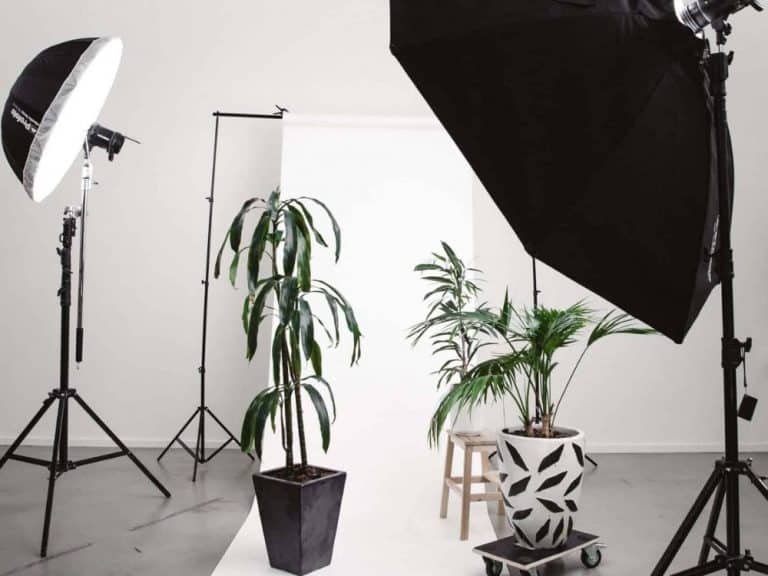
1. Get your photography lights and background right
Good lighting is the foundation of any successful photograph. Choose a well-lit area near a window or studio with artificial lighting. Soft, diffused lighting works best to bring the details and textures of shoes.
Experiment with different lighting angles and intensities to achieve the desired effect. Use a combination of natural light and artificial photography lights to ensure optimal lighting conditions. Position your lights strategically to eliminate harsh shadows and create a balanced illumination. Experiment with different angles and intensities to highlight the shoes’ texture, color, and details.
A lightbox can be handy when photographing shoes, but other photography lights (you need at least two) will work fine.
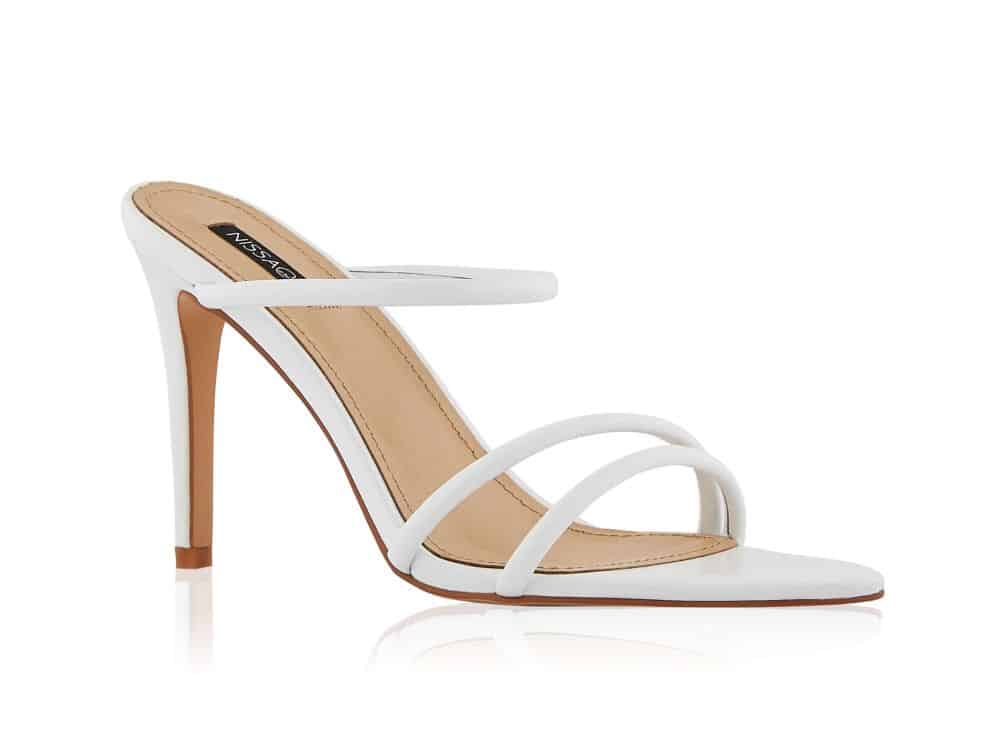
Opt for a clean white background when photographing shoes for a professional and polished look. A white background allows the shoes to take center stage, drawing attention to their unique features. You can use a white seamless paper or fabric as your backdrop, ensuring no distracting elements in the frame. Ensure you place your shoes in the right place and avoid harsh shadows, which will result in image editing.
If you used a colored background while photographing, now you should consider removing the background altogether. This technique provides a distraction-free focus on the shoes, making them stand out. You can achieve this by using photo editing software or tools to remove the background easily. The resulting transparent background lets you place the shoes on any desired backdrop during post-processing.
2. Highlight Details and Textures:
Highlight Details and Textures: Shoes often have intricate details and textures that deserve to be highlighted. Use macro photography techniques or zoom in to emphasize the smallest features. Pay attention to stitching, embellishments, and unique patterns.
Shoes often have intricate details and textures that deserve to be highlighted. Use macro photography techniques or zoom in to emphasize the smallest features. When photographing shoes, pay attention to stitching, embellishments, and unique patterns.
Also, you should make sure the shoe is 100% clean. If you have dust or dirt around, it will make your image look bad, and you’ll spend hours in image retouching, trying to remove it. Take my word for it, and just get it right in the photo session to make your life a bit easier.

3. Experiment with various angles and focus on composition
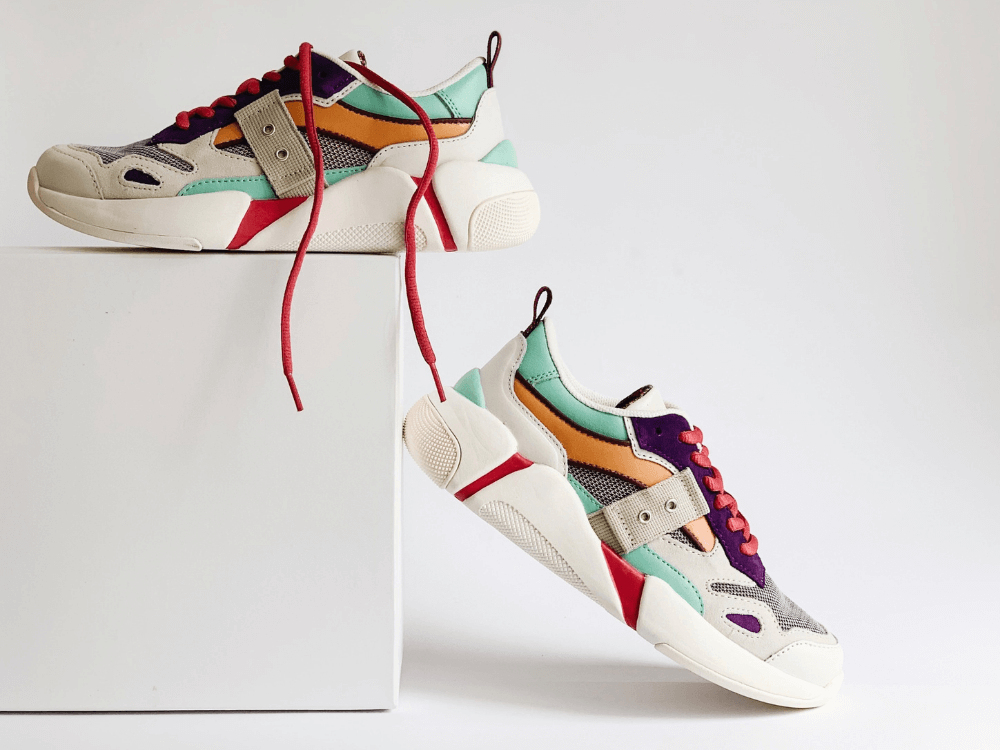
Be bold and creative when photographing shoes. Experiment with various angles, perspectives, and compositions to add visual interest. Showcase different views of the shoes, such as the front, side, back, and even close-up shots of intricate details. This variety will help your audience appreciate the shoes from multiple angles, giving them a comprehensive understanding of their design and craftsmanship.
Pay attention to the composition of your shoe photographs to create visually appealing images. Consider using the rule of thirds by dividing the frame into nine equal parts and placing the shoes along the intersecting lines or at their intersections. Experiment with different angles, perspectives, and depths of the field to add interest and showcase unique features. Feel free to get creative and experiment with composition to create visually striking shoe image.

4. Tell a story by photographing shoes with a model
Shoes can evoke emotions and tell stories. Use this to your advantage by incorporating storytelling elements into your shoe photographs. Consider the context in which the shoes will be used and create scenes or backdrops that complement their style and purpose. Let the background and props enhance the narrative and create a compelling visual story, whether it’s a fashion-forward look on a city street or a serene nature setting.
A model will help take more interesting shoe photography by giving the product a bit of context. Customers want to see how their feet will look in the shoes, so a model will make the product more relatable. Experiment with various poses to see which makes your product look its best. Moving like walking, jumping, or dancing can also highlight shoe features like flexibility, comfort, etc.
Include more types of images in your eCommerce shop for the best result. A mix of white background images and model images is usually a winning formula.

5. Master the art of image retouching
Image retouching is crucial in perfecting your shoe photographs. After capturing the images, take the time to edit and enhance them. Retouch any imperfections, such as dust, scratches, or blemishes, on the shoes. Adjust the brightness, contrast, and saturation levels to achieve a balanced and appealing final result. Pay attention to details while retouching, ensuring the boots look flawless and ready to be showcased.
Post-processing can take your shoe photographs from good to outstanding. Use photo editing software to enhance colors, adjust brightness and contrast, and retouch imperfections. Remember to maintain a natural look and avoid over-editing. Post-processing also allows you to experiment with different backgrounds, add text overlays, or create composite images to make your shoe photographs stand out.
If you feel like you don’t have enough time for post-processing, you can always hire a professional for your retouching services. This is not a time to cut the budget because photos have a lot to say on how your eCommerce will perform.

Conclusions
Applying these essential tips will improve the quality of your shoe photography and ensure your prospects get the best shopping experience. Photographing shoes can be really fun if you start to play with them. Be creative, find new photography angles, explore lighting setups, and I’m sure you will find a style that really reflects your brand identity.
E-commerce platform Shopify has an entire guide to photographing shoes. Learn more here.
By following these five tips, you’ll be well-equipped to capture stunning shoe photographs that showcase their style, detail, and appeal. Remember that practice makes perfect, so don’t be discouraged if your initial attempts don’t meet your expectations. Keep experimenting, honing your skills, and developing your unique style. Whether you’re photographing shoes for personal pleasure or professional purposes, the art of capturing footwear can be a rewarding and visually captivating journey. So grab your camera, slip on your favorite shoes, and let your creativity shine through the lens. Happy photographing!
Need an extra hand with image retouching? Our team offers complete professional image editing services, so you get perfect shoe images for your eCommerce in no time.
Let us know how we can make your life easier here.