Image editing tips for on-body product photography
The previous article explained how to photograph and then retouch product images on flat surface – or flat-lay images.
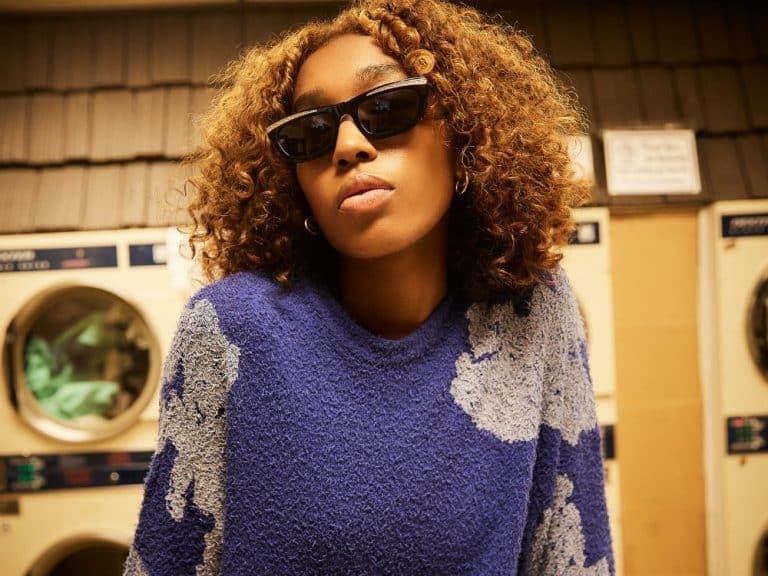
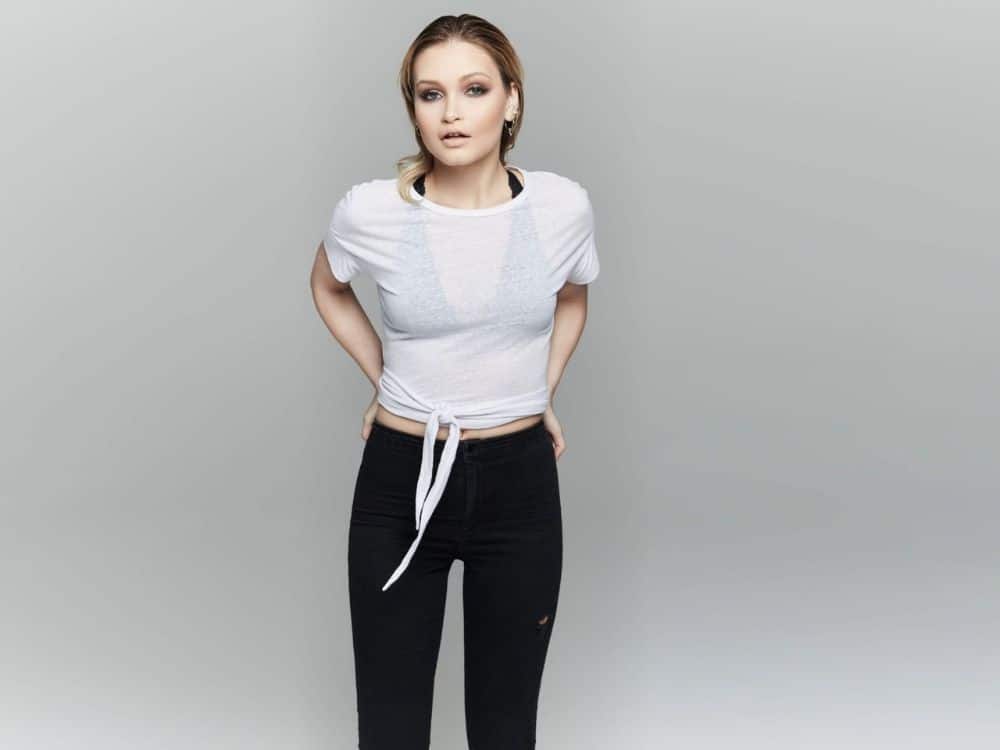
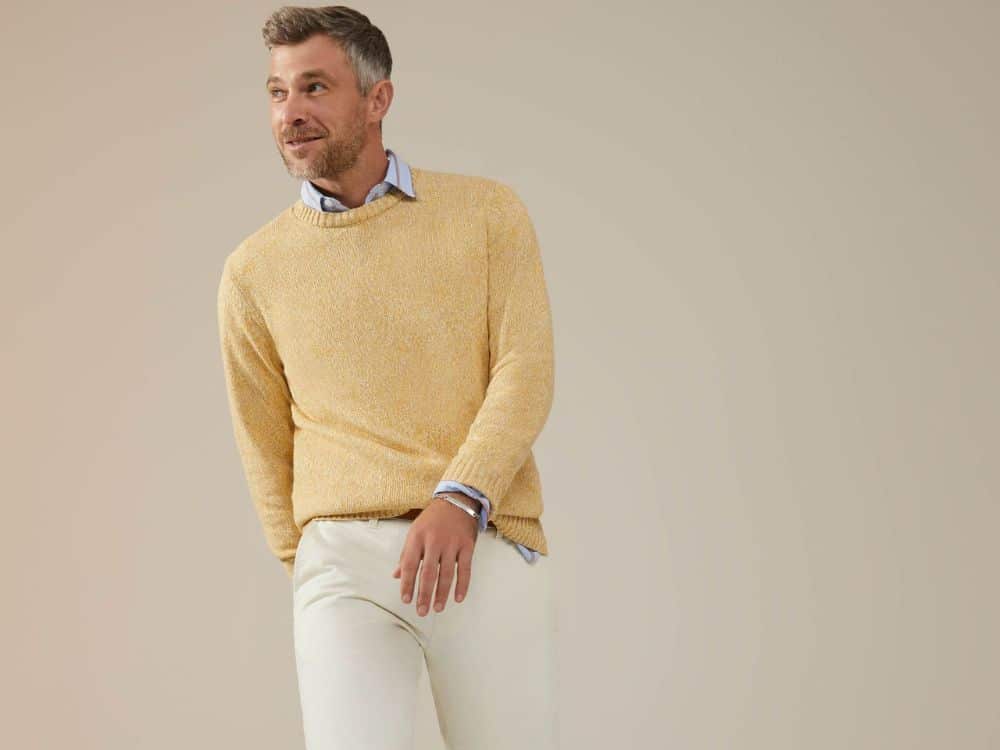
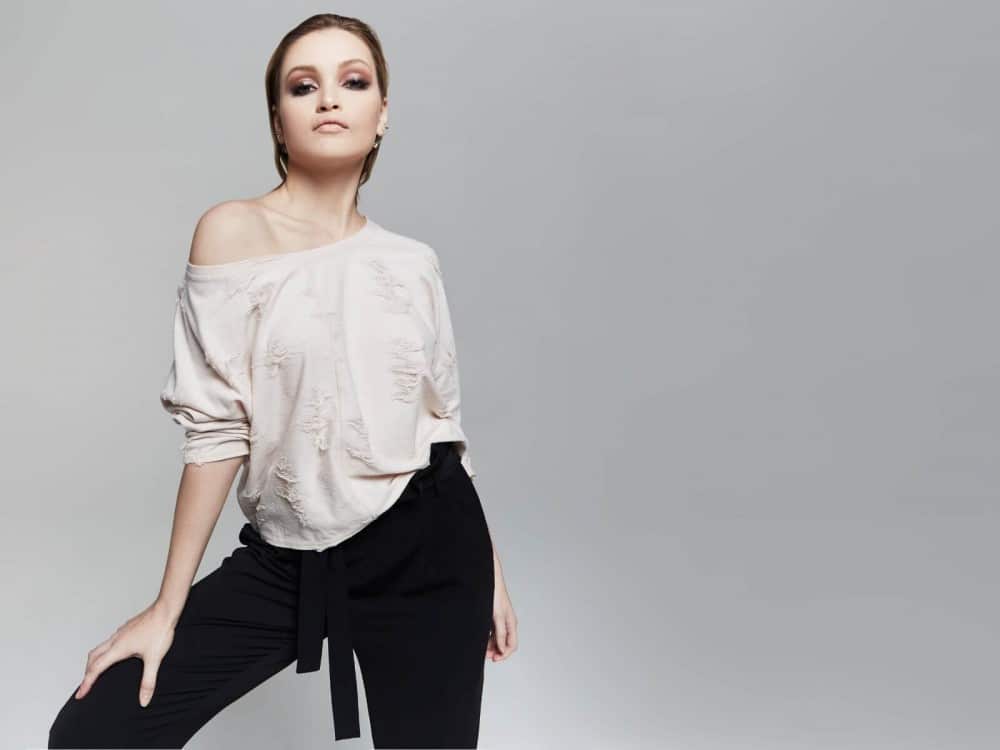
However, certain products, such as clothing, look better photographed on the body or the mannequin.
Photographing clothing items on the body will allow the viewer to form a more accurate image of the product, decrease the return, and will help you increase the sales of your online store.
High-quality product images help the customer to make the purchase decision faster.
In the previous articles, we also gave tips related to photographing product images, so now we want to touch on the subject of retouching on-model and on-mannequin photos.
Even if you followed our tips on shooting product images, you would still have to do a few basic touch-ups like cropping, adding shadows, background removal, color correction.
Photo editing will help you have a more aesthetic image for your eCommerce website.
Now let’s see what the steps are for a perfect product image!
Background removal
Background removal is the most common edit in product photography.
If you have been aiming for consistency on your website ever since the photoshoot and used a neutral background for your images, you will probably not need to remove the background.
But there will be moments in which you did not take this aspect into account, and the first thing you will want in the retouching phase of the product images will be the removal of the background.
You can use classic tools, like Photoshop, or use special background removal software such as PixelPro.ai.
PixelPro.ai will help you save time and money by automating a repetitive and demotivating process for your retouching team.
Cleaning up the products
When cleaning the image, be careful to remove dust, fingerprints, loose threads, labels, and pins, or other props used during shooting.
For on-model images, also check for any necessary minor corrections such as removing blemishes, dark circles, or other marks on the body.
But do not overdo it when retouching; remember this is cleanup, not alteration.
Color correction
Now is the time to make sure that your image represents the photographed product correctly. Color correction is one of the most important steps when editing an image. If the shade of the product differs from that of the image displayed, in most cases, the customer will be dissatisfied and return the product.
Even when you’ve used a solid color background to shoot your product photography, color correction allows for consistency across images.
No matter how good you think the original photo is, you should always consider correcting the colors of your images.
Color correction brings out accurate colors and uniformity for your website.
Whatever software you’re using, adjust the color balance of your photographs until their colors match the colors of your product in real life.
Also, keep in mind that increasing contrast will make the light areas of the image more delicate and the dark areas darker. Increasing exposure will make the whole photo brighter. Highlights or shadows will give you an effect similar to contrast but preserve more detail. Clarity or sharpness will give dimension to the image details.
Conclusions
Even minor retouching adjustments can help you present your product more accurately.
Remember, the goal of retouching is to create a set of images that represent your product as accurately as possible.
If you think photo editing is time-consuming or your team lacks the skill, we can help.