How to use grey cards and white balance to get accurate colors in your photographs
- updated in 2023
Accurate colors are vital in creating visually captivating and true-to-life photographs. While modern digital cameras have advanced white balance algorithms, sometimes achieving precise colors requires a more hands-on approach. And precise color representation is necessary if we’re talking about product photography. This will help you reduce the number of returns and keep your customers happy and loyal.
In this article, we will explore using grey cards and white balance techniques to help you capture images with accurate color representation. By understanding these methods, you can elevate the quality of your photographs and enhance the overall visual impact.
A photography grey card and white balance can make your life so much easier.

But what is a grey card, and how do I use it?
A grey card is a cheap and easy-to-use tool designed to help photographers adjust their exposure and white balance settings by providing a reference point. This reference point will set a white balance or color balance point for a particular image set and all images captured afterward.
Grey cards, also known as neutral cards, provide a standardized reference point for accurate color reproduction. They are typically made of 18% neutral grey, which reflects an equal amount of light across the visible spectrum. This corresponds to a mid-grey, the middle point between the darkest shadows and the brightest highlights. By using a grey card, you can establish a reliable baseline for adjusting the white balance in your photographs.
A grey card is a great tool to get a good exposure. The light reflected from an 18% grey is perceived by your camera meter as “normal” exposure. Grey cards can also be a reference point to detect any color cast and correct the white balance in your images.
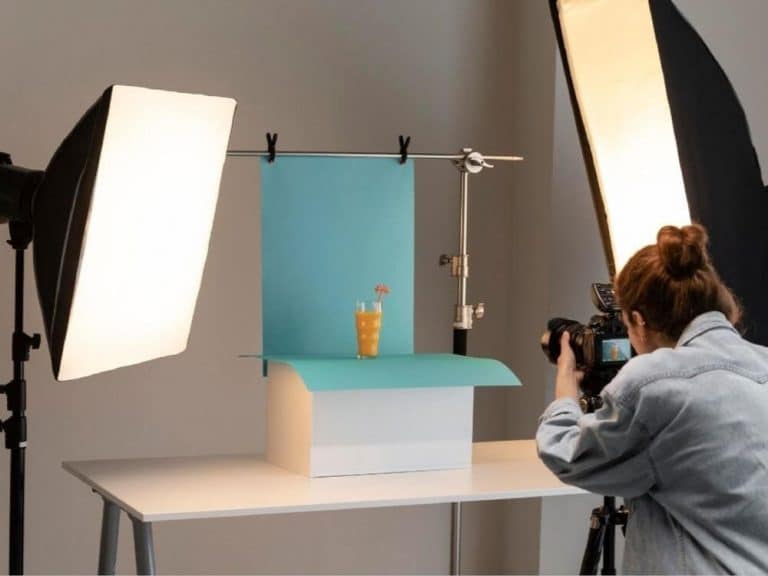
First, place the grey card in the set where you intend to take a photograph to measure your reference point, with the grey side facing toward the camera. Then, if you want the most accurate result, place the card directly where your subject might be.
To use the grey card to set the exposure of your scene, please follow the following steps:
✅ As we have mentioned, place the grey card in the scene
✅ Point your camera at the grey card
✅ Adjust your camera settings to ensure optimal exposure and focus
✅ Take away the grey card from the scene and take photos, keeping the exposure you set in the previous step
When light conditions change, you need to repeat the process.
Grey cards, also known as neutral cards, provide a standardized reference point for accurate color reproduction. By using a grey card, you can establish a reliable baseline for adjusting the white balance in your photographs.
Why is white balance essential?

After capturing the image, you can navigate the camera’s internal shooting menu and select one of the preset white balance options or “custom white balance.”
White balance refers to adjusting color temperature in an image to ensure that whites appear truly white and other colors are rendered accurately. You can compensate for the color cast introduced by different light sources by setting the correct white balance.
A grey card will help you to set the correct white balance and capture colors accurately. In addition, the grey card has a neutral tone and can be used as a reference point.
How to correct white balance in post-production
You could always correct the image retouching stage if you failed to capture the correct colors during the photo shoot.
This is what you have to do:
✅ Open a test image that contains your grey card in Photoshop and create a Levels Adjustment Layer.
✅ You will find three eyedroppers stacked next to the Levels histogram. Select the middle-eyedropper from the three-eyedroppers next to the Levels histogram, and click on the grey card.
✅ Photoshop will automatically adjust the image’s color levels.
✅ If you need to apply those settings to other images taken in the same lighting conditions, click the drop-down menu in the top-right corner of the Levels column and select “Save Levels Preset.”
In Lightroom, it’s even faster:
✅ Select the White Balance eyedropper tool in the Basic menu of the Develop Module and click on the grey card.
✅ Use the eyedropper to pick a spot in the grey card
✅ Click on the spot, and Lightroom will correct the image about this spot
✅ Highlight all of the photos you want to color correct and click the “Sync” button in the lower right corner of the screen.
✅ Check “White Balance,” click “Synchronize,” and it’s DONE.
Additional Tips for Accurate Color Representation
Here are a few additional tips to enhance color accuracy in your photographs:
✅ Understand the lighting conditions: Different light sources emit varying color temperatures. Be aware of the light sources present and adjust your white balance accordingly.
✅ Shoot in RAW format: RAW files retain more color information and provide greater flexibility during post-processing, allowing for precise adjustments.
✅ Bracket your shots: Take multiple shots with different white balance settings to ensure you have options to choose from during post-processing.
✅ Calibrate your monitor: Ensure your display accurately represents colors to maintain consistency from capture to final output.
Conclusion
Mastering white balance and utilizing grey cards can significantly improve the color accuracy of your photographs. By setting a custom white balance using a grey card and using it as a reference for subsequent shots, you can achieve true-to-life colors that enhance your images’ impact and visual appeal. Experiment with these techniques, refine your skills, and witness the transformation of your photography as you capture the world with precision and artistic intent.
A grey card is an affordable accessory that will help you get accurate exposure and color in your photographs.
You can use your grey card to correct both white balance and exposure on the spot. In white balance, the most common thing to do is to use the grey card during the photoshoot as a reference image. This will help you to correct your colors in image editing.
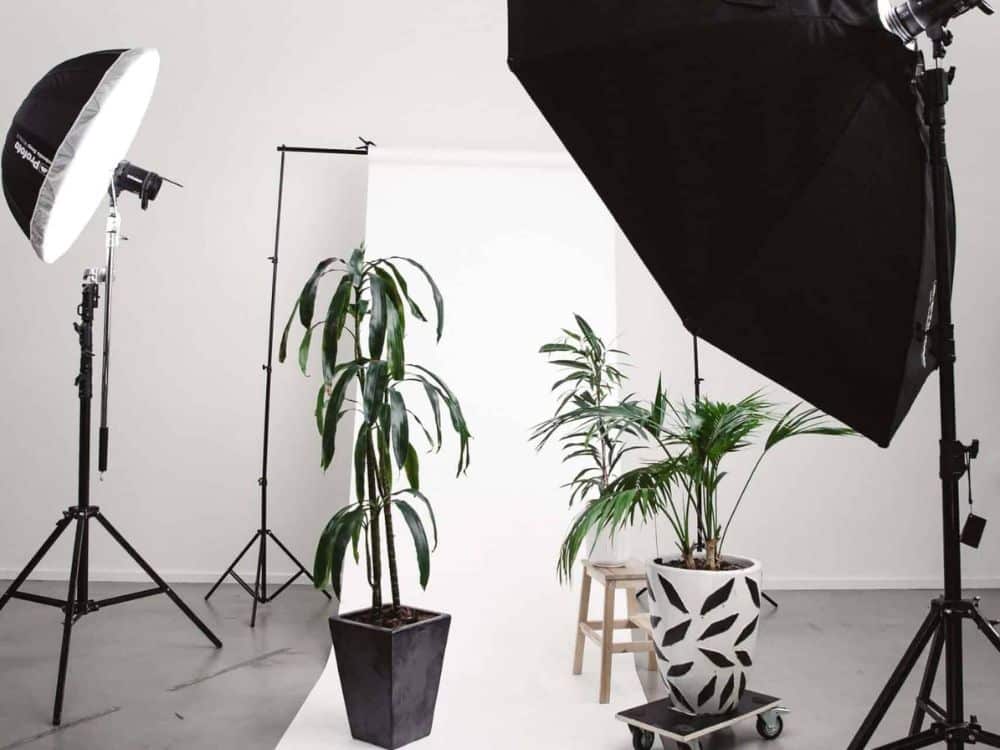
To ensure that you’re getting the best colors possible, it is recommended that you use artificial strobes in a stable lighting environment and lock your camera settings to ensure consistency from image to image in your inventory.
Need more info?
Find out what services we can provide for your business and why countless international brands have collaborated with us for years for their photography and image retouching needs.